In Where Winds Meet, looking cool is mandatory, but wearing the right math is what actually keeps you alive.
If you’ve spent any time with Where Winds Meet, you’ve probably noticed the gear system isn’t exactly straightforward. It’s not as simple as equipping whatever has the biggest number attached to it. Between Tiers, Mastery, Tuning, Slot Enhancements, and Set Bonuses that could pass for legal documents, there’s a lot to unpack.
I’ve done the deep dive through every menu so you can skip the headache. Here’s your complete breakdown of how armor works, why that “Formbend” set might be the reason you’re still standing, and what those strange tuning stones are actually for.
 How to Build My Winter Car Corris Rivett – ALL PARTS & ASSEMBLY PROCESS EXPLAINED
 Table of Contents
The Basics: What Armor Actually Does (Where Winds Meet Armor Guide)
At its foundation, armor serves two primary purposes: boosting your Max Health and increasing your Physical Defense. These form the backbone of your survivability. But if that were the whole story, we’d be done here.
The real depth comes from the additional systems built on top of these basics.
Enhancing Slots: Rather than upgrading individual items, you upgrade the slot itself. Push your helmet slot to +10, and every helmet you place there inherits that bonus.
Mastery: When you break down old equipment (technically “storing it in your Arsenal”), you earn Mastery points for that slot. These translate into passive stat bonuses tied to your chosen Path—Bellstrike for damage dealers, Stonesplit for tanks, and so on.
 EU5 Government Guide: Societal Values Explained
 Tuning: The Min-Maxer’s Dream
This is where dedicated players spend their time. Armor pieces can roll with random secondary stats, and the system opens up as your gear improves.
- Tier 31+: One substat slot becomes available
- Tier 41+: Tuning unlocks, allowing you to add a second slot
- Tier 51 & 56: Third and fourth slots become accessible
Keep an eye out for armor that drops with a “Tuning Material” substat (marked with a stone icon). Purple icons guarantee purple-rarity stats when used as material. Gold icons mean gold-rarity results. Stockpile these carefully—accidentally vendoring them hurts.
 EVERY MINE IN ARC RAIDERS (AND WHY YOU NEED THEM)
 The Defensive Sets That Define Your Build
This is where your loadout truly takes shape. Every armor piece belongs to a set, and equipping 2 or 4 matching pieces activates powerful passive effects.
DEFENSIVE ARMOR SETS
The 4-piece bonus should always be your target. Here’s what each set brings to the table.
 Where Winds Meet Qinghe Cat: Complete Location Guide
 | SET NAME | BEST FOR… | THE 4-PIECE BONUS |
|---|---|---|
| Formbend | High-Mobility / Spear Users. Perfect for the “Bellstrike – Splendor” path. | Extends shield duration by 2s. If you have >85% Qi, you take 20% less HP damage. |
| Calmwaters | Assassins / Dodgers. Ideal for “Bamboocut – Wind” players who live on the edge. | A Perfect Dodge has a 50% chance to restore 3% Max HP and 10 Endurance. |
| Eaglerise | Solo DPS / Sustain. Great for “Bellstrike – Umbra” where you need to survive alone. | Dealing DoT or healing grants damage reduction stacks. At max stacks, you block 90% of the next hit. |
| Moonflare | Tanks. The go-to for “Stonesplit – Might” heavy hitters. | Attacking while defending has a 30% chance to create a shield for 10% Max HP. If you already have a shield, it heals you instead. |
| Whirlsnow | Supports / Healers. A safety net for “Silkbind – Deluge” players. | If you lose >40% HP in one hit, your next incoming heal is boosted by 25% of your Max HP. |
| Agile Steps | Parry Gods. For players who can time their deflections perfectly. | Successful deflections reduce all damage taken by 20% for 2 seconds (stacks 3 times). |
| Beyond the Chill | Ranged Control. Supports the “Silkbind – Jade” playstyle. | If you take no damage for 10s after starting combat, you get a massive 40% damage reduction buffer for the next hit. |
 Arc Raiders Skill Tree Guide: Best Skills & Builds 2025
 How to Get the Good Stuff
Where does all this gear actually come from? While armor can drop from enemies or appear as quest rewards, your most reliable source is Gear Chests earned by farming Dungeons. These chests often let you select a specific Set type rather than leaving everything to chance. The Weekly Shop also stocks limited quantities if you have currency to spare.
Here’s what it comes down to: don’t just equip whatever shows the highest item level. Choose a set that complements your weapon and playstyle, tune your slots for optimal substats, and invest in upgrading your gear slots. Your survival depends on it.
 Arc Raiders Traitor: Spotting Backstabbers Before They Strike
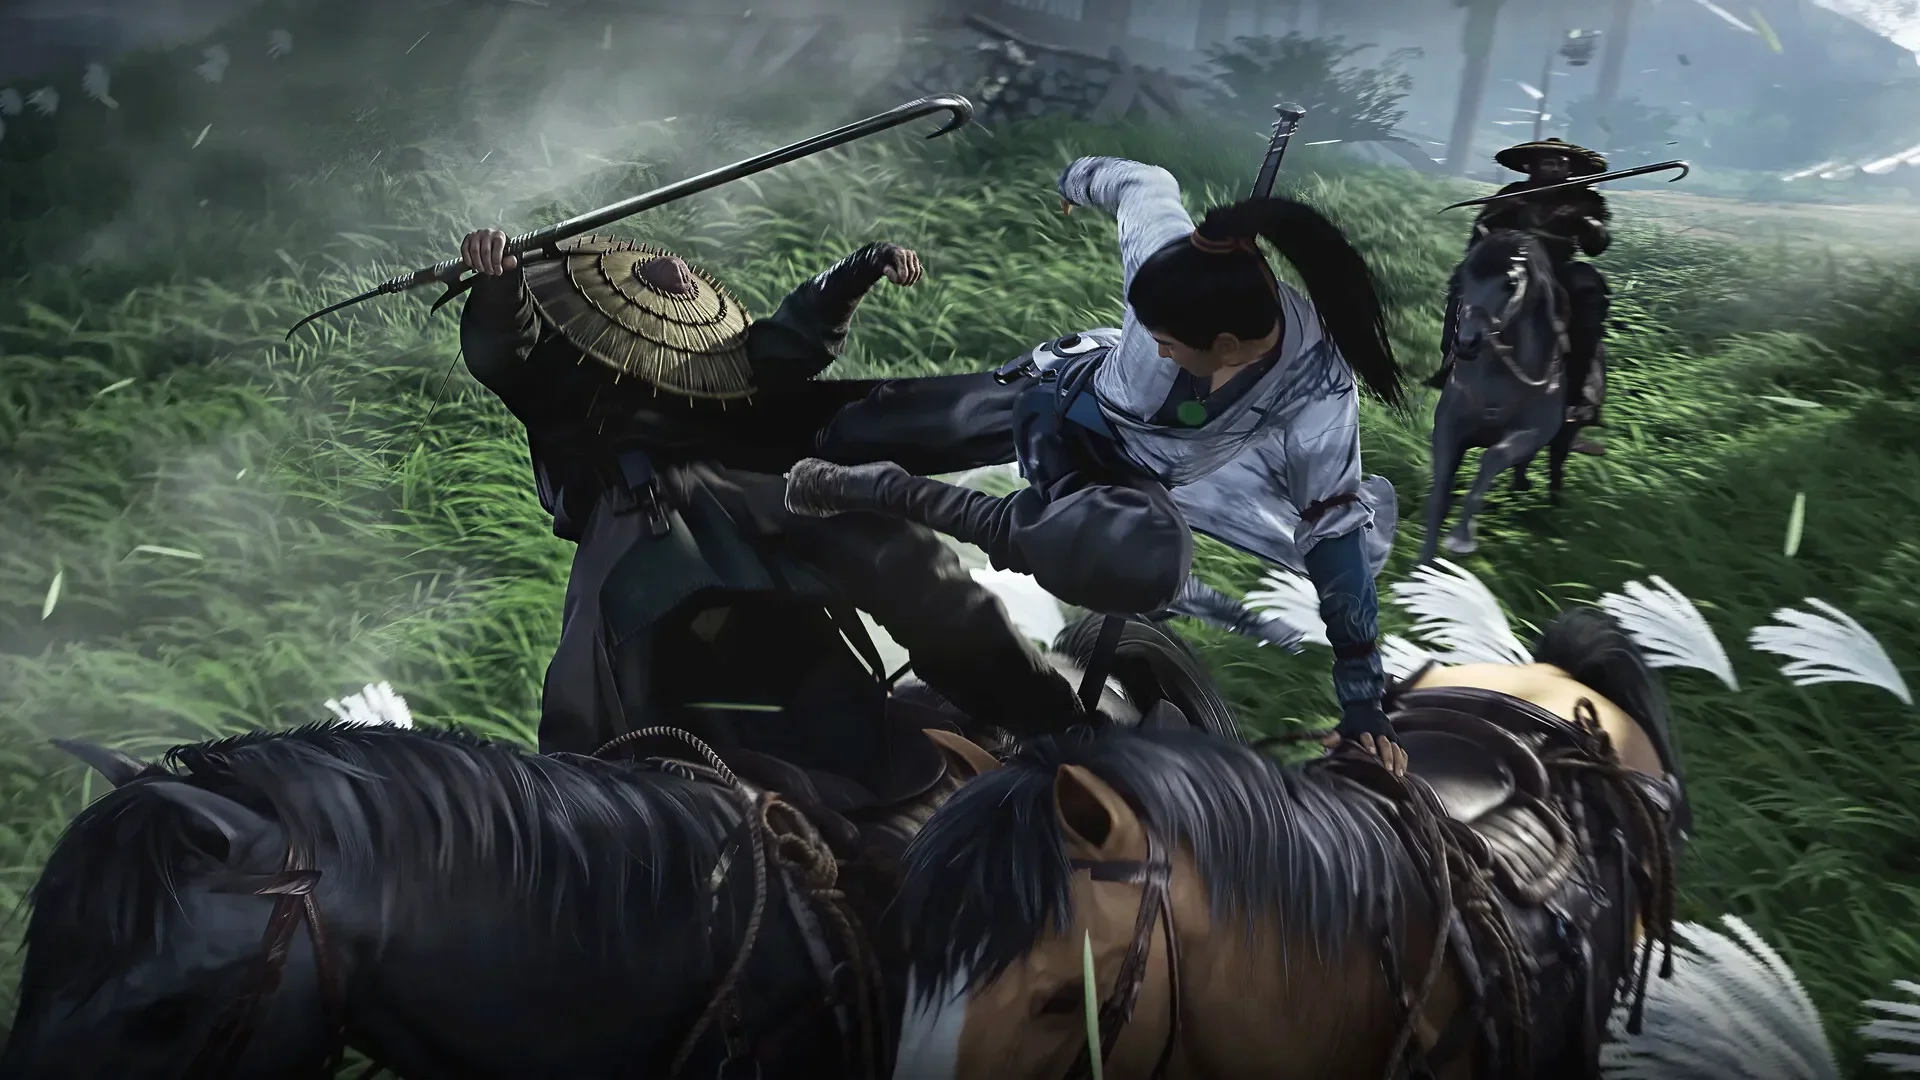