Constructing a factory in MineMogul is straightforward maintaining optimal performance without belt jams and lag spikes is where the real challenge begins.
Once you advance beyond beginner mechanics, you’ll encounter the true adversary: in-game physics. Items wedge themselves into corners, sorting systems become overloaded, and plates create blockages inside hoppers. Mastering these systems requires an engineering mindset. This comprehensive guide covers the advanced technical concepts the tutorial overlooks.
 The Rusted Gear Hell Is Back: Here’s Where To Find Them After The Reset
 Table of Contents
The “Drop-Off Point” Rule
This principle stands as the most critical optimization in MineMogul: Keep your drop-off point uncluttered at all costs.
Every resource you extract must eventually pass through this central hub. Cramming crushers and furnaces into this space eliminates routing flexibility for later expansion. As soon as you breach the wall, relocate heavy processing equipment into the expansive blue cavern. Reserve your drop-off room exclusively for final item delivery treat it as sacred territory.
 Cloudheim Starter Guide: Stop Hoarding and Start Kicking
 Complex Sorting Logic
Sorting systems demand precision. Master these techniques:
Understanding Sorter Indicators: Red lights signal an empty basket or system jam. Green arrows indicate active flow direction, while orange highlights indicate where filtered items exit.
Gem Handling Strategy: Diamonds and Emeralds must never enter crushers they’ll shatter on contact. Deploy sorters upstream to extract precious gems before the crushing phase. Skip the time-consuming process of separating different gem types from each other; simply isolate all gems from standard ores.
Coal Contamination Prevention: Coal must never contact polishing machines. Coal residue contaminates polishers and halts operation completely. Always filter fuel sources before processing refined materials.
 EU5 All Formable Nations List: Your Complete Map Painter’s Bible
 The “Y-Splitter” Sync Issue
This advanced behavior (potentially a bug or intentional game mechanic) frustrates experienced players. When you chain Advanced Splitters in a Y-configuration to divide one conveyor line into four outputs, they frequently synchronize their sorting cycles. All splitters toggle left/right simultaneously, effectively nullifying half your output capacity.
The Solution: Substitute standard Splitters for basic 2-to-4 divisions. Alternatively, Mass Ore Splitters perform excellently with centered inputs, or use Splitter Chutes if you’re confident in the physics engine’s reliability.
 Arc Raiders Economy Exploit: This Crafting Recipe Is Literally Printing Money
 The Art of Centering
Physics-based items naturally drift toward conveyor belt edges, creating bottlenecks. Item centering is essential:
The Drop Technique: Elevate your belt one tile and drop items onto a perpendicular belt below. Gravity automatically centers items perfectly.
Small Sorter Alignment: Small Sorters consistently output items to the exact belt center. Leverage them as alignment tools throughout your system.
Prevent Side-Loading Problems: Ore crushers notoriously dump items along belt edges. Provide straight output paths or incorporate straight merging sections to force proper item centering.
 Pokémon GO New Year’s 2026 Event: Your Complete Guide to Maximizing Rewards
 Robot Arms and Plate Jams
Hopper Plate Problem: Flat, wide plates frequently bridge hopper gaps, creating system-wide clogs. When possible, convert plates into smaller components (like rods) before final bin delivery.
Robot Arm Flow Control: Use Robot Arms to feed machines like the Pipe Maker. Direct belt feeding causes overload conditions. Robot Arms maintain perfect input pacing.
Polish Before Processing: Always polish raw materials (ingots and plates) before fabricating final products like pipes. Large finished items create transportation nightmares and jam easily.
 Stop Building Like A Noob: Advanced Tactics To Break ‘Alchemy Factory’
 Verticality and Controls
When constructing the Vertical Bulk Sorter, remember this critical detail: top-loading is mandatory. Output ports are located underneath.
Finally, optimize your factory grid management. Press “F” on individual miners for selective shutdowns, but connect all equipment to your belt network for access to the master “Turn On/Off All” menu button. When building vertically, follow the construction ratio: one tile upward for every two horizontal tiles.
Now return to your factory floor. Those 16 blast furnaces won’t achieve optimal throughput on their own.
 My Winter Car Beginner’s Guide: Everything You Need to Know to Survive 1999 Finland
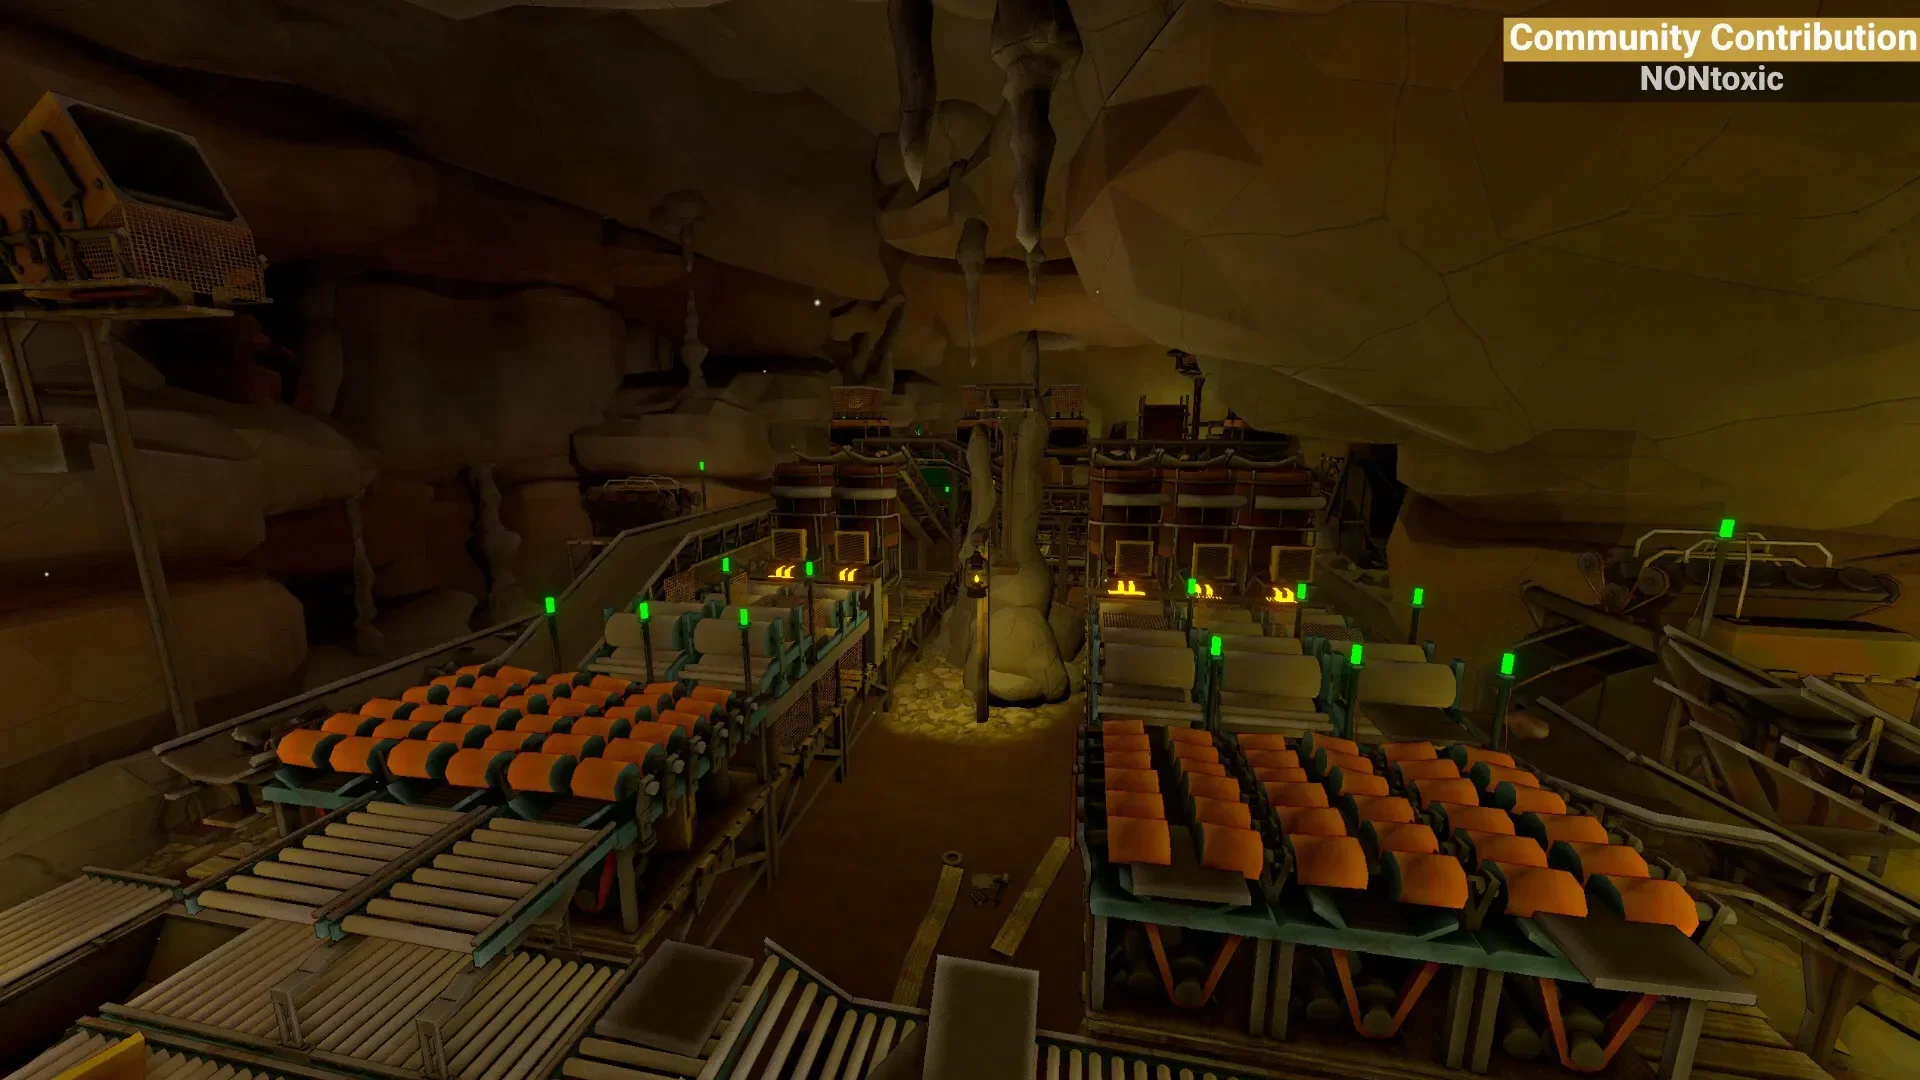